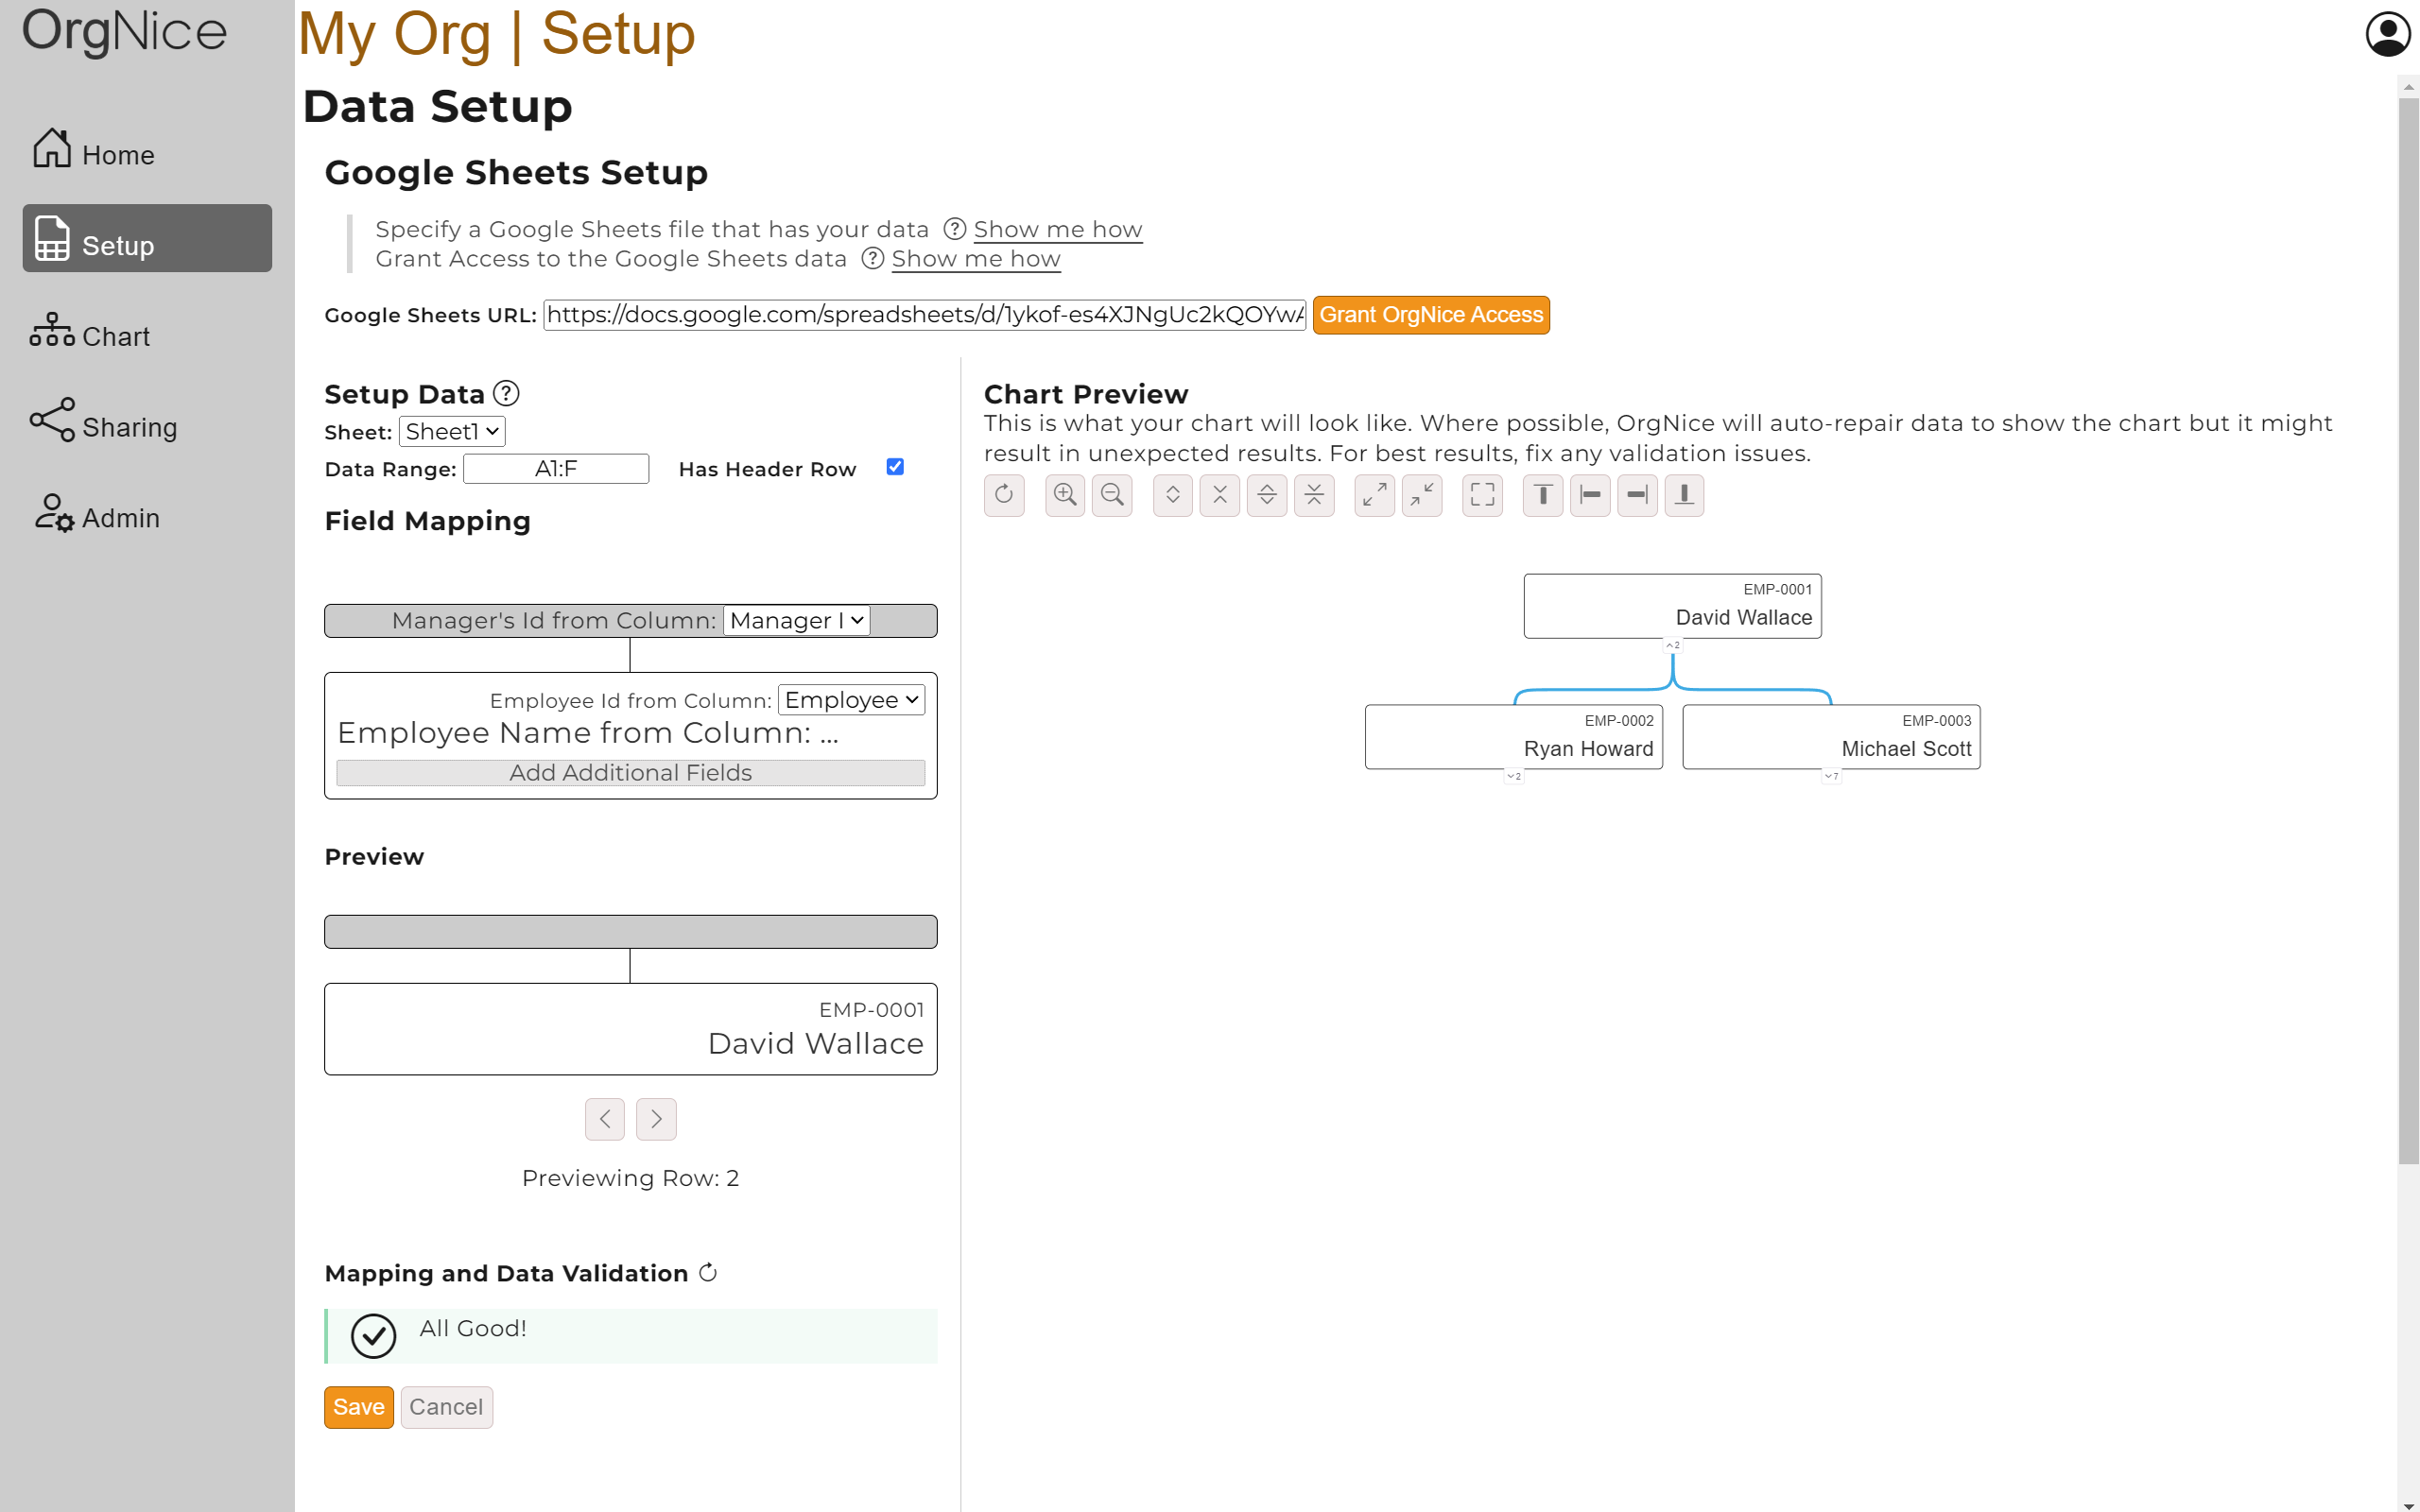
This article walks you through the steps to get your Org Chart setup in your project. OrgNice works hard to make this as easy as possible. OrgNice will analyze your Google Sheets spreadsheet to automatically map columns to generate the best org chart from that data structure. OrgNice will also try to auto-repair if it finds any issues in the data (without changing your data) to generate the chart. However, you are still in control - if you want, you can update your data or you can manually map the fields to generate the chart you want. Let’s get started.
Once you have the Google Sheets file that has your employee data head over to your project by clicking on “Open”. If it is a new project, you should be taken automatically to Setup. You can also choose “Setup” in the left menu.
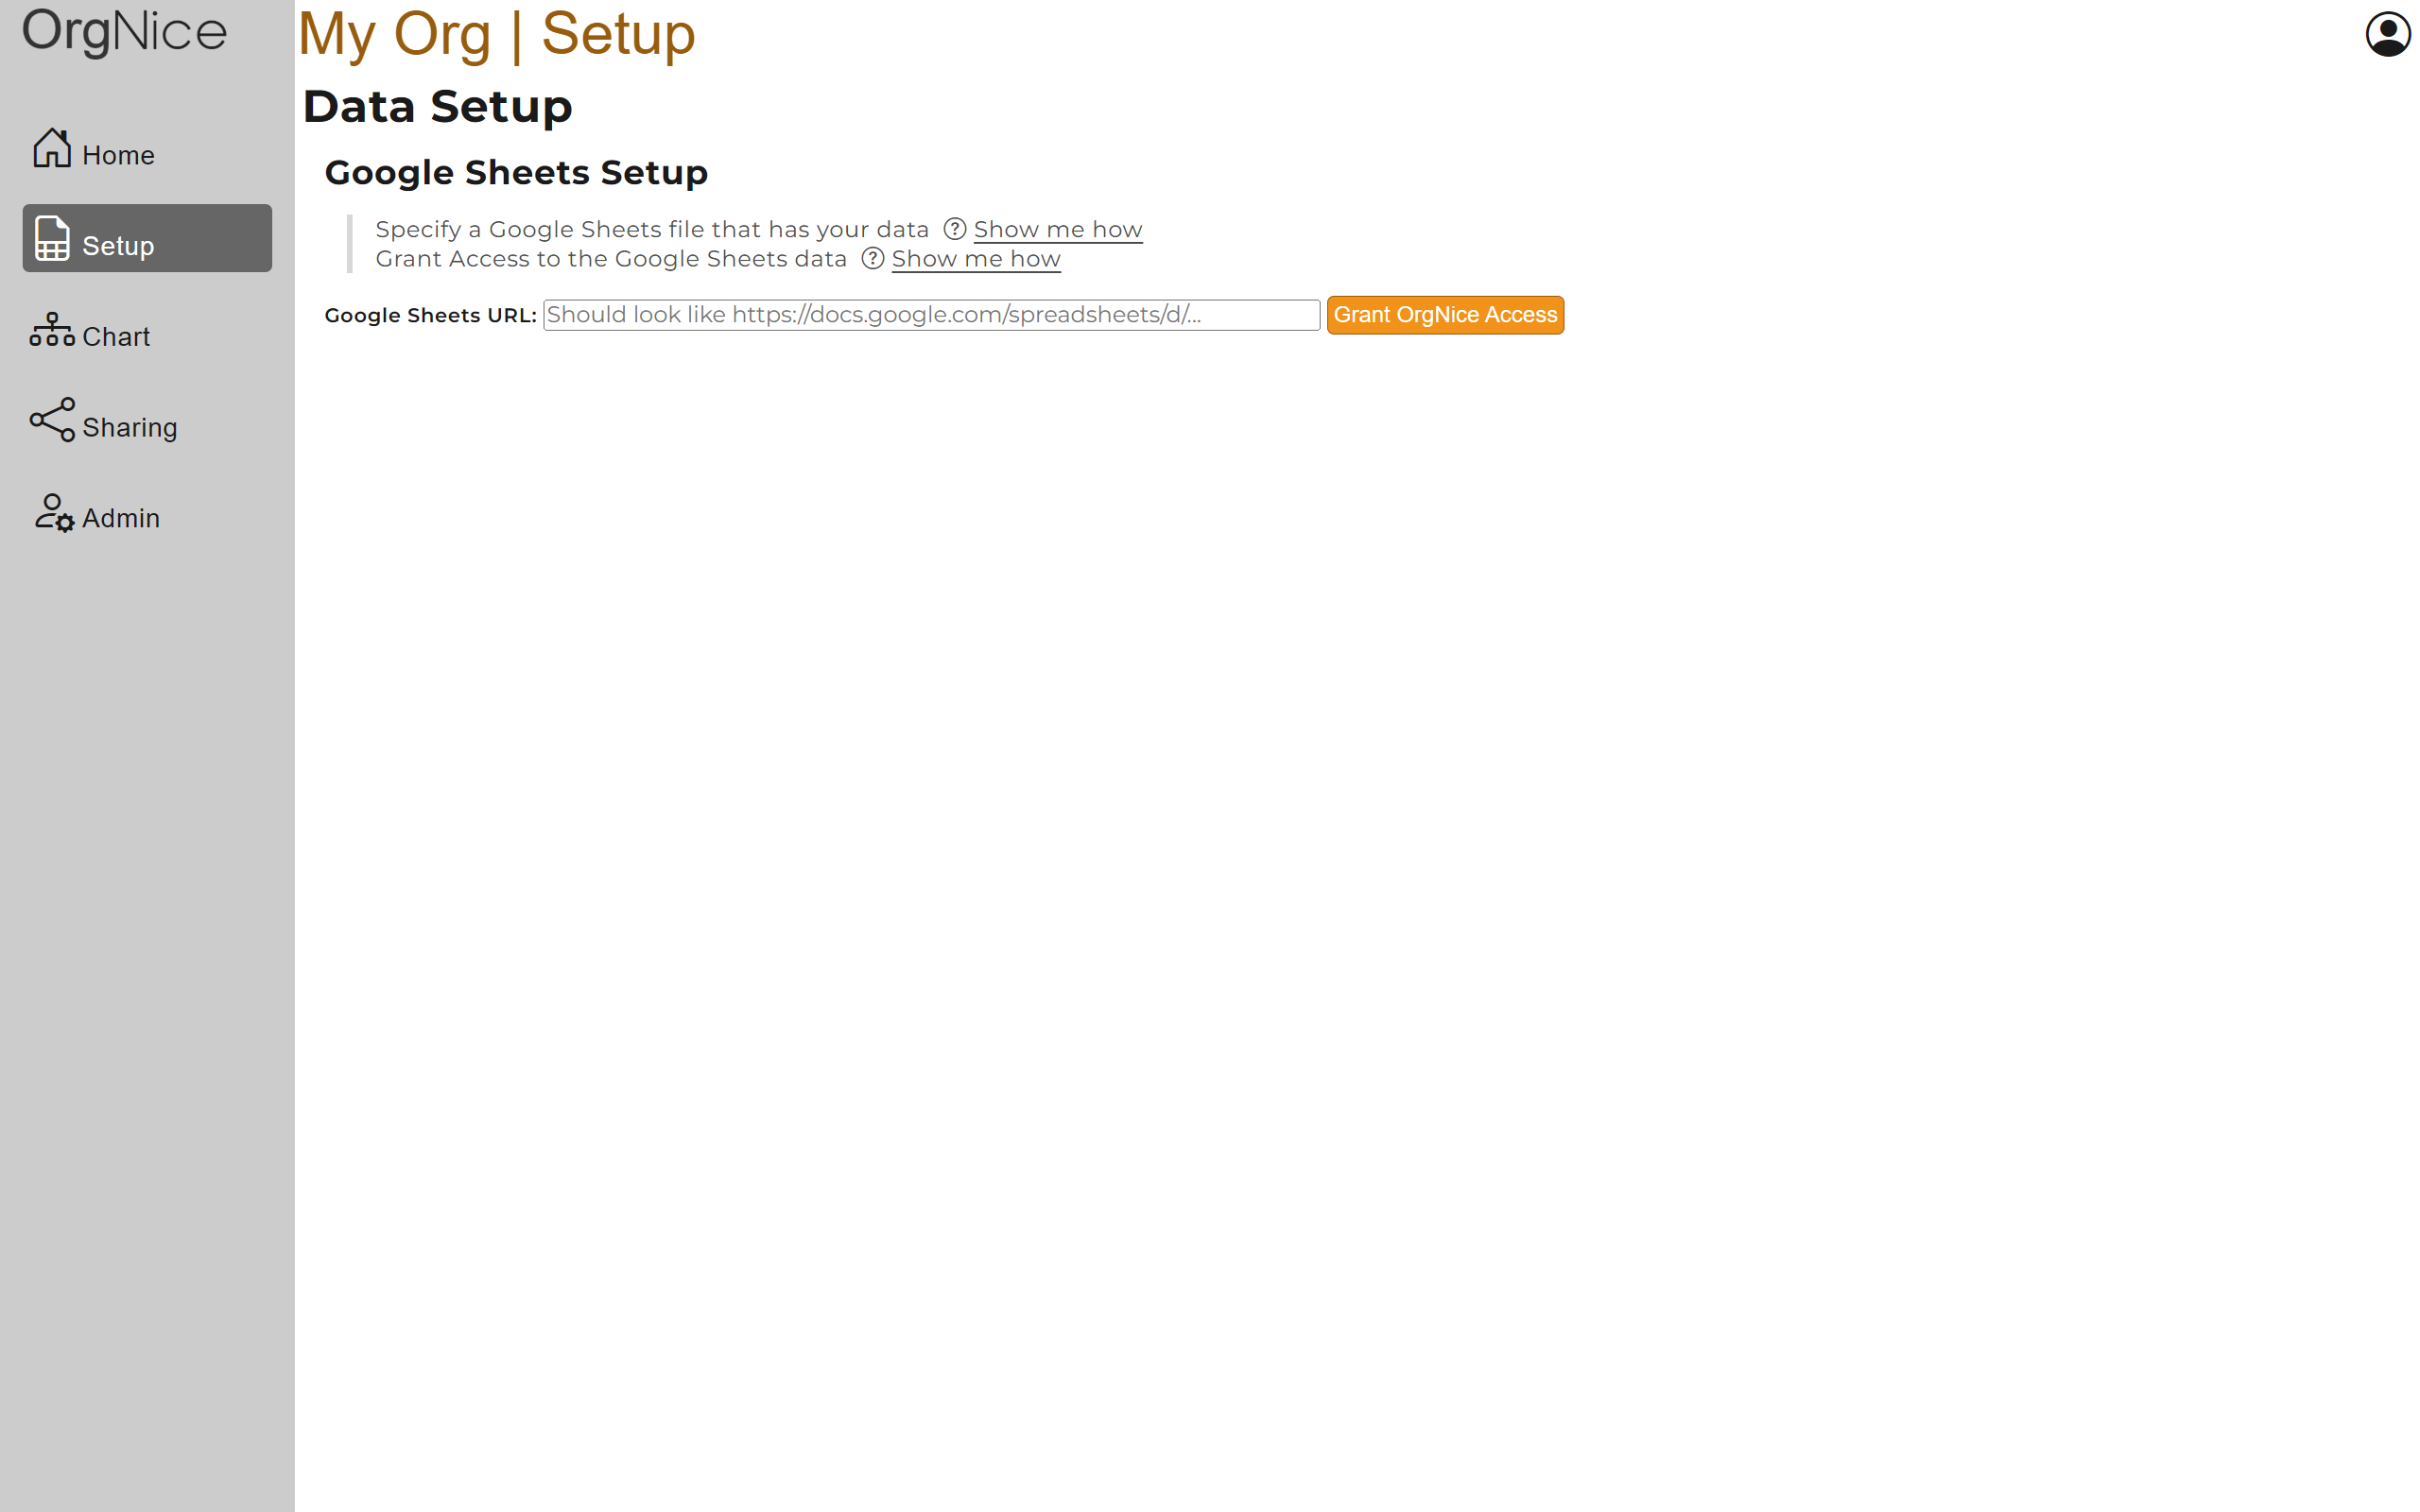
If your page looks like this instead -
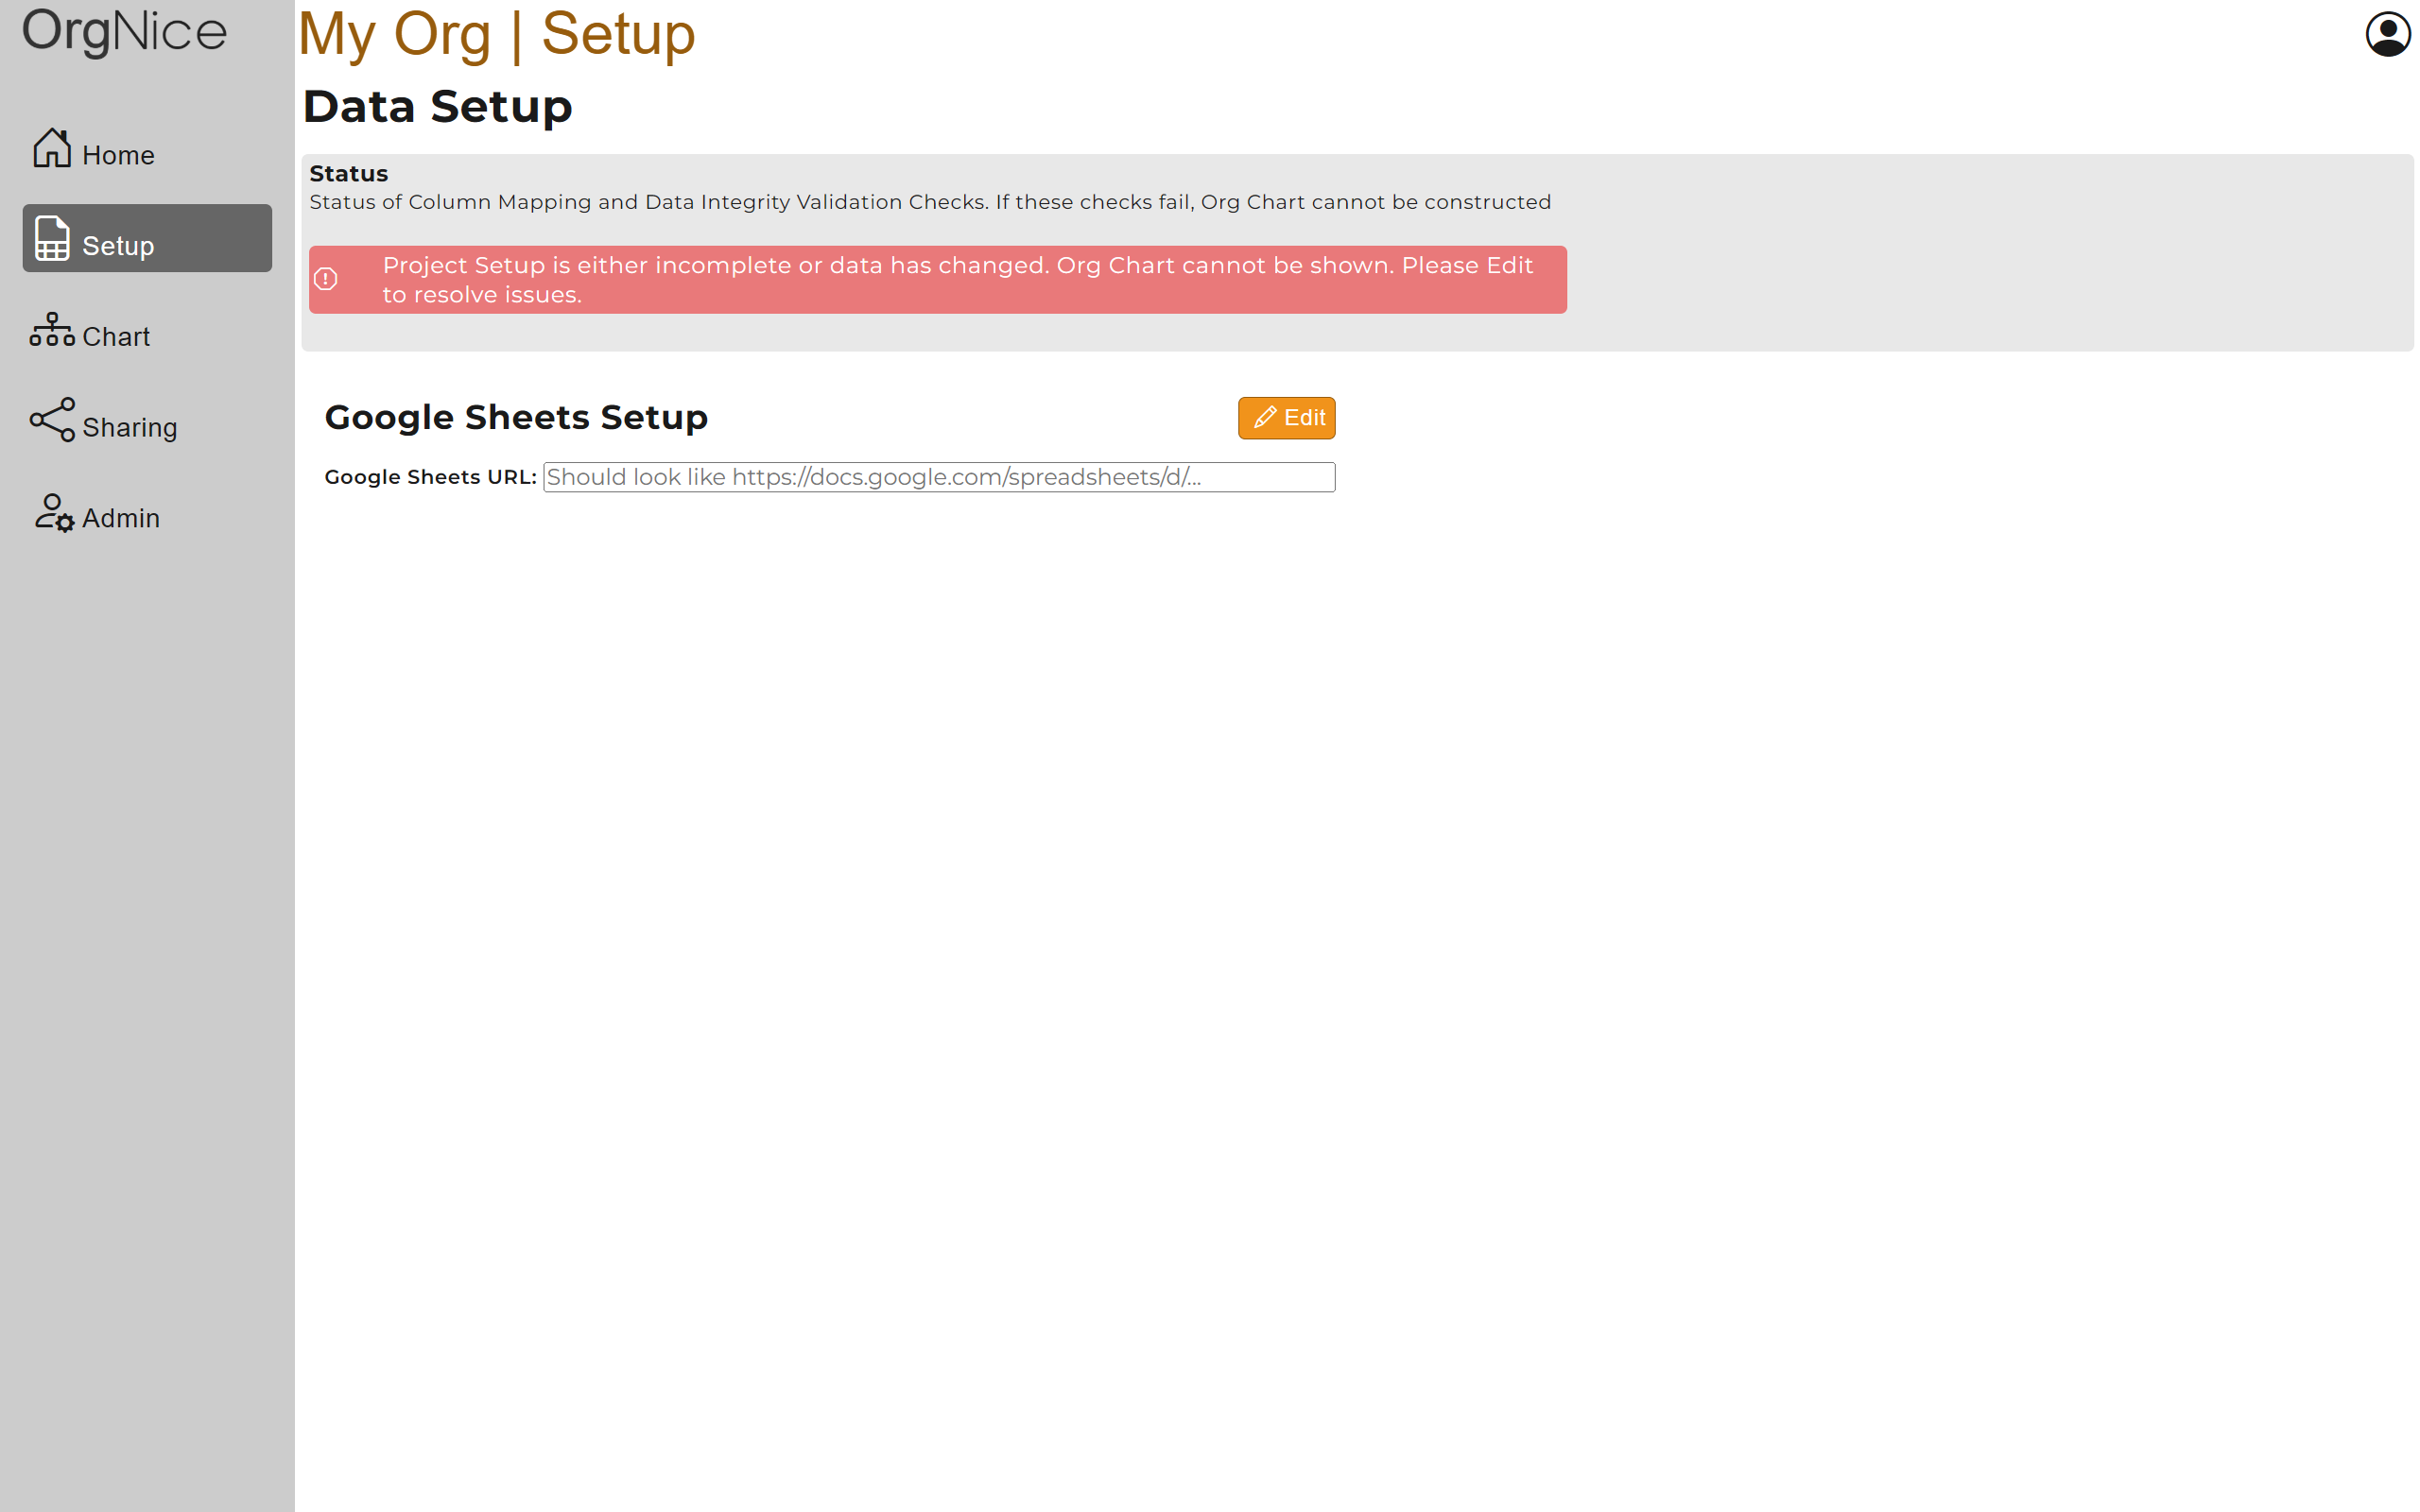
then press Edit to get started.
Setting up your Google Sheets file
Step 1
The first step is to configure the location of your Google Sheets file so that OrgNice can read the file contents. Learn More about data access to understand how your data is secure.
Open your Google Sheets file in Google Sheets. You can get the file location in one of the following 2 ways -
- Go to the browser url bar and copy the full text there OR
- Go to the File menu and choose Share > Share with Others
 .
When you see the Share window
 Choose Copy Link.
Your url should start with https://docs.google.com/spreadsheets/d/…
If you would like to follow along then you can use this public spreadsheet from OrgNice as a template
Step 2
Come back to OrgNice and paste the link in the Google Sheets URL field
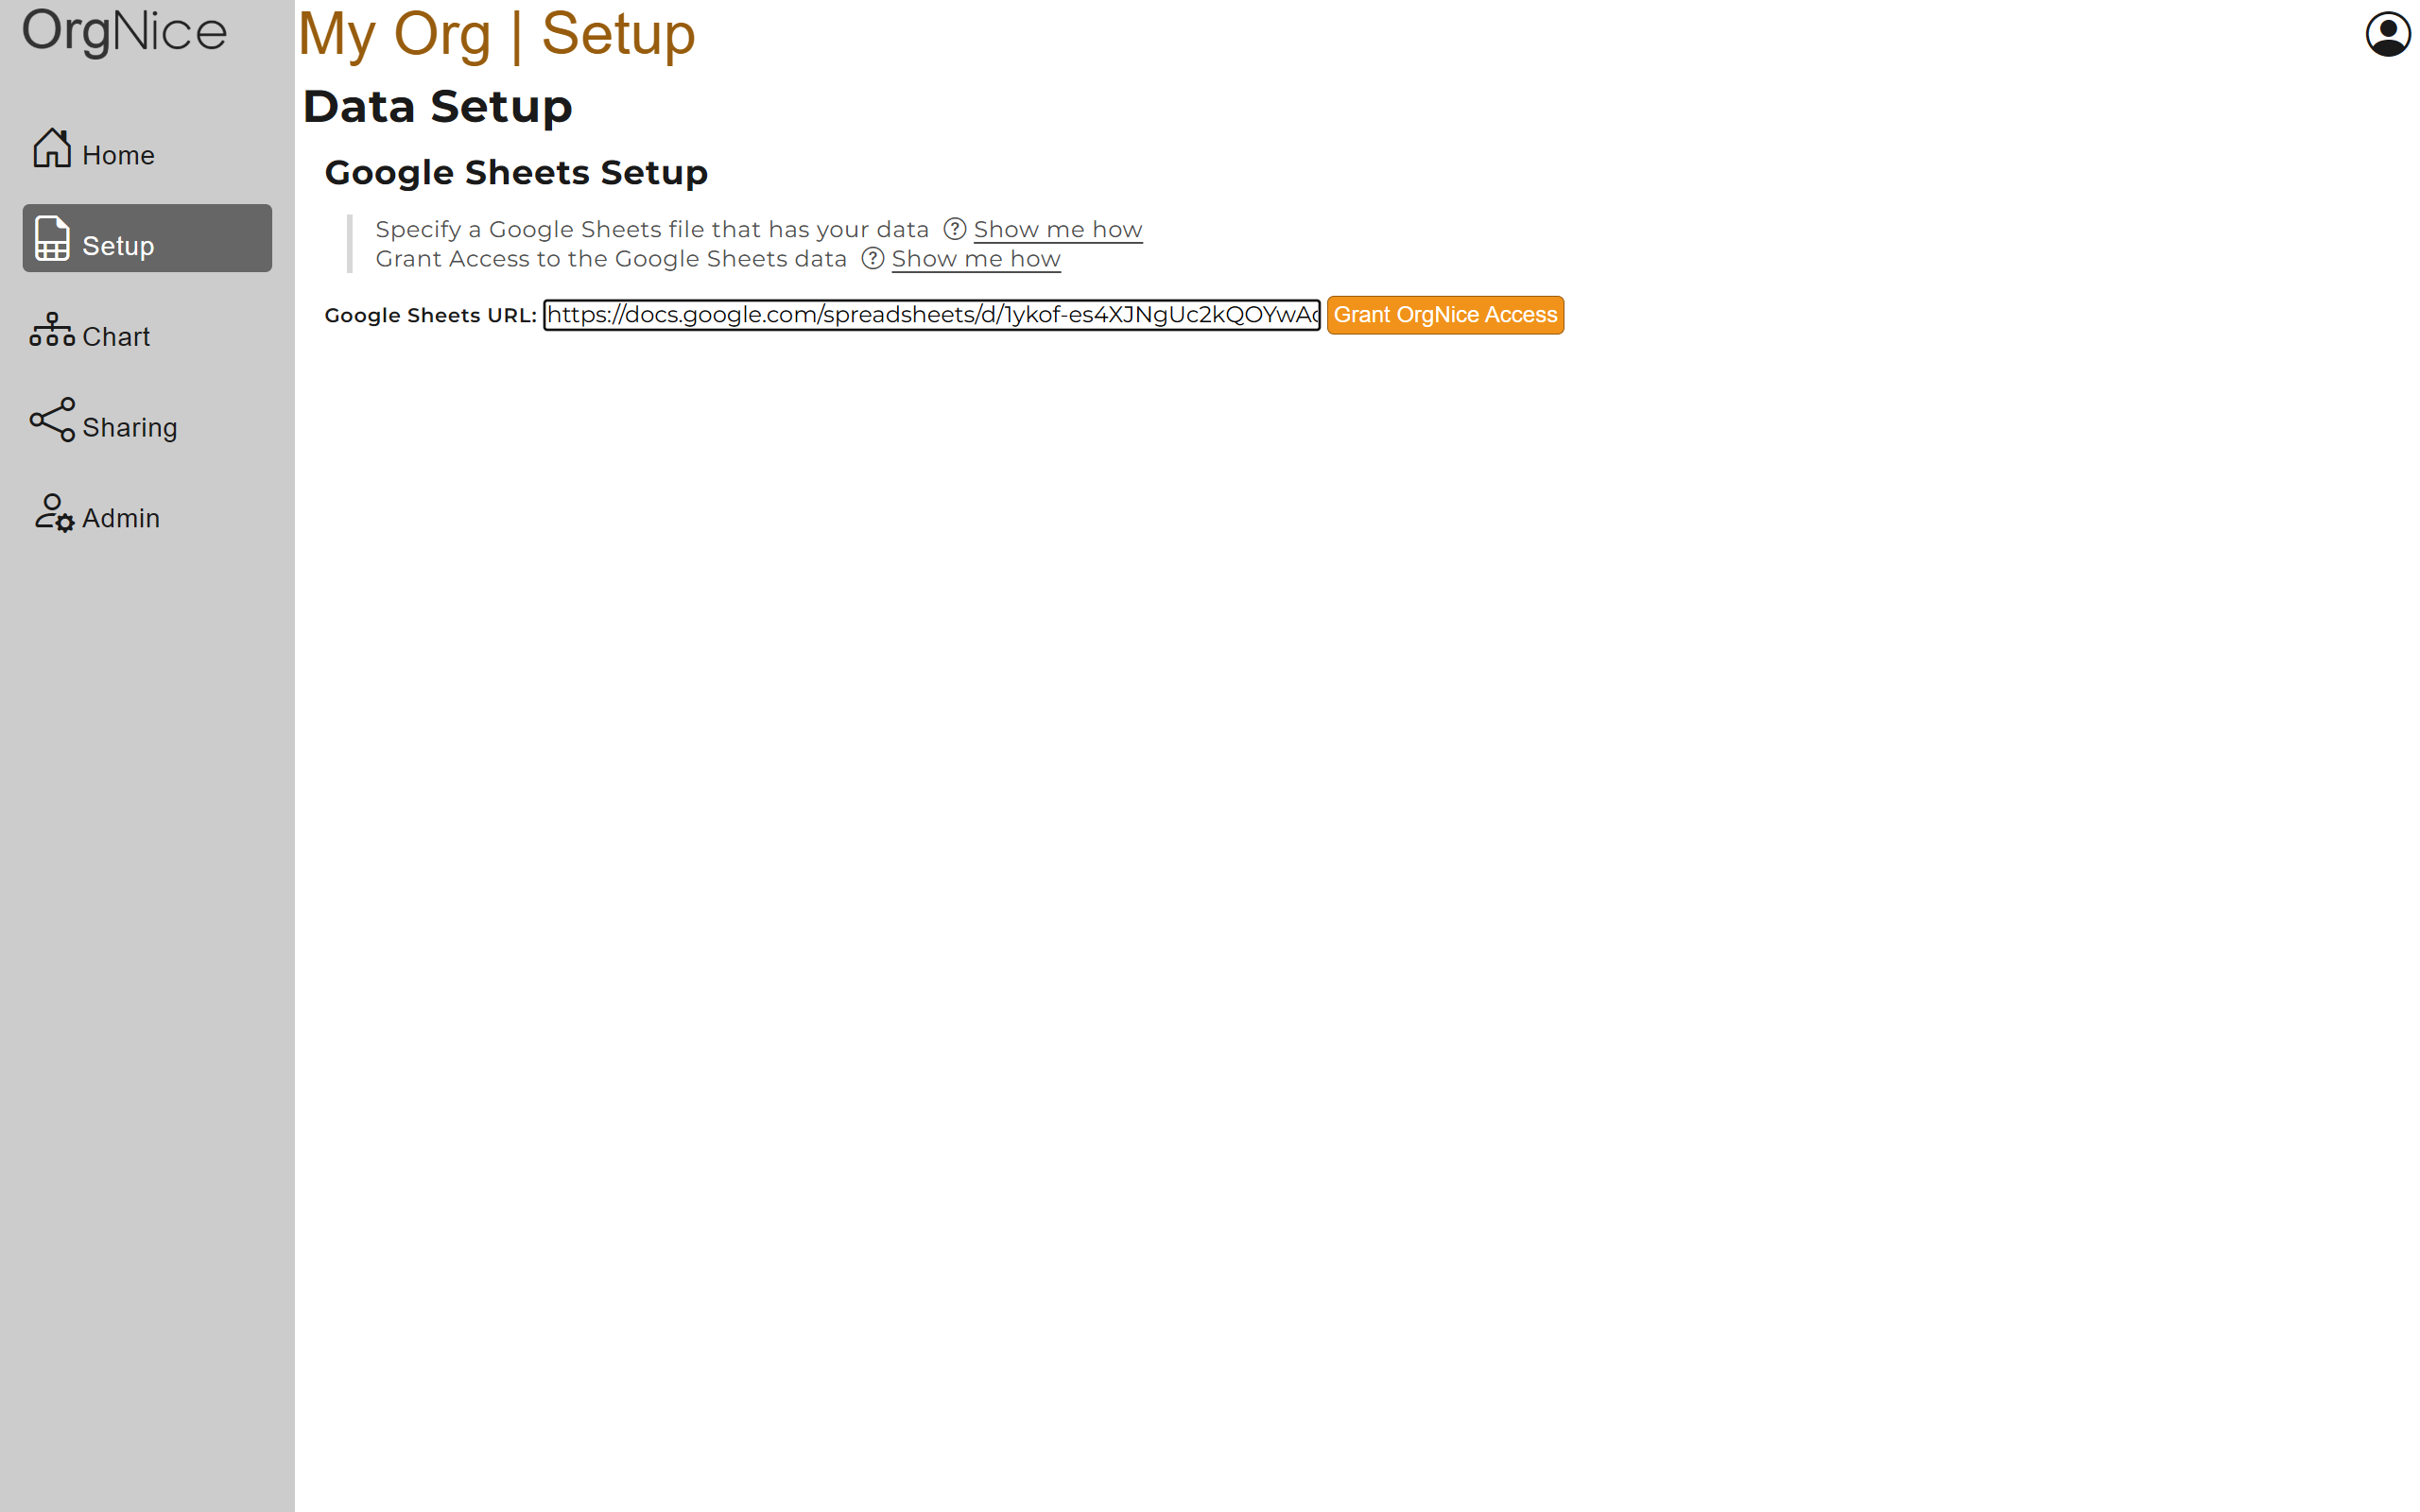
Granting OrgNice Access to your data
You need to grant OrgNice access to your data so that Google Sheets knows that OrgNice is authorized (by you) to read it. Press ‘Grant OrgNice Access’ to start this process. The next couple of screens will be from Google Sheets asking your permission to allow OrgNice to read the contents of your Google Sheets file. Learn more data access to understand how your data is secure.
Selecting your Google Account
In the first screen, Google will ask you to pick or sign-in to the account that has access to the Google Sheets file. Either pick the right account from the list or sign-in as appropriate. It is important to pick the account that has access otherwise the file data cannot be read.

Granting Permissions
In the second screen, Google will ask your permission to allow OrgNice to read the contents of the file. Please note that OrgNice can only read contents of files it knows about - i.e. only those files that you configure in OrgNice. You can see OrgNice’s Terms Of Use and OrgNice’s Privacy Policy in this screen. Select “Allow” to proceed.

After this process completes, you will be back in OrgNice.
Analysis
You will see this screen as OrgNice analyzes your data to automatically generate an org chart. This might take a little while depending on how large your spreadsheet is (no. of sheets, no. of rows and columns).
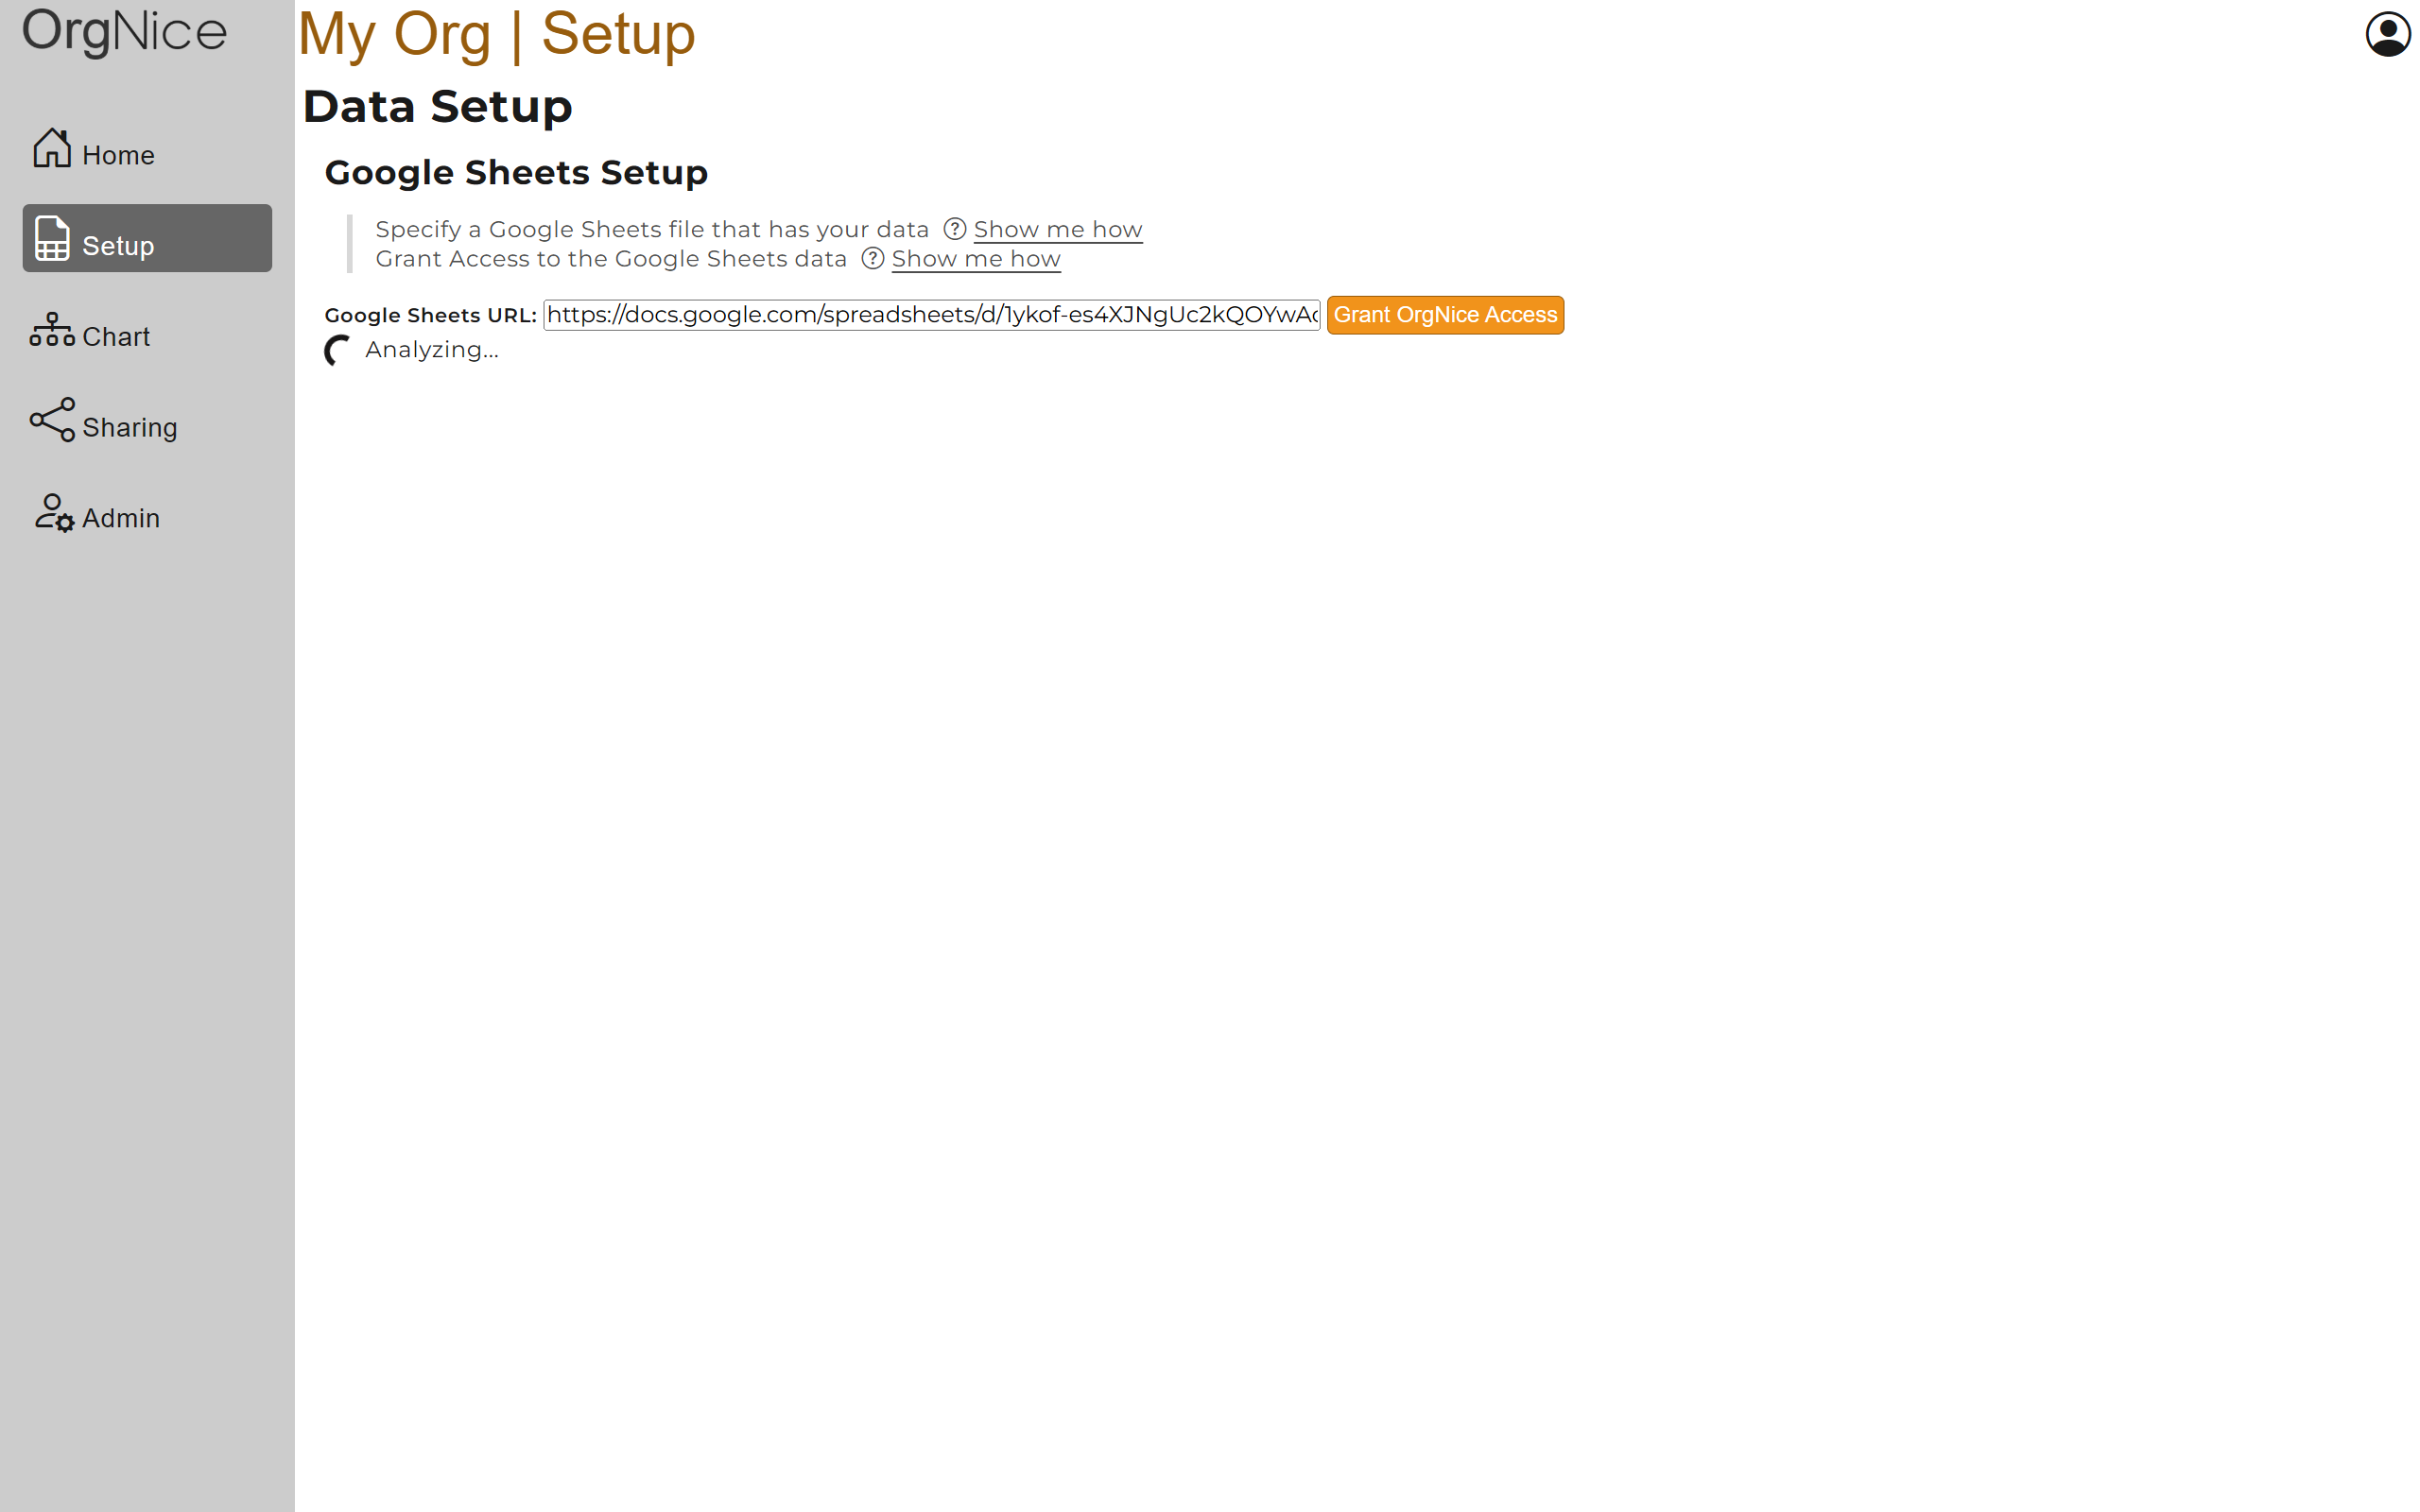
OrgNice analyzes the spreadsheet and the structure of all the sheets and automatically identifies the best sheet and columns that it thinks your data can be used to create an org chart. In cases where the data structure is not appropriate, OrgNice might fail to produce a valid mapping automatically. In most cases, when the spreadsheet data contains org information, OrgNice is able to automatically create the org chart. «««< HEAD
You should see the screen populate something like this. You might see different values based on the contents of your file. In case, OrgNice is unable to automatically map, you might see validation errors. Please check if you have the right file or manually map the correct fields.
=======
You should see the screen populate something like this. You might see different values based on the contents of your file. In case, OrgNice is unable to automatically map, you might see validation errors. Please check if you have the right file or manually map the correct fields.
master
If the Analysis detected the correct structure, you should see your org chart in the Preview section right away. You can now proceed to configure your org chart nodes. If your Analysis did not get you the desired results then please read this section
Manually Setting up your Org Chart
If you would like to tweak your Org Chart mapping, you can manually set the fields.
Selecting the Sheet
If your Google Sheets file has more than one sheet (tab in the spreadsheet), select the one that has the data you want to show in the chart. When you change the sheet, the Analysis process will kick in again, and the most appropriate mapping for that sheet will be applied. You can change the mapping.
Mapping Data
When you select a sheet, a Data Range will automatically get populated based on the contents of the sheet but you can adjust it if required. If your data has a header row, check Has Header Row else uncheck it.
At this point OrgNice should have all your data and we can proceed with configuring the chart!
Mapping Fields
We will map fields in the Mapping Card section of Setup -

We will see any remaining mapping tasks or any validation issues here -

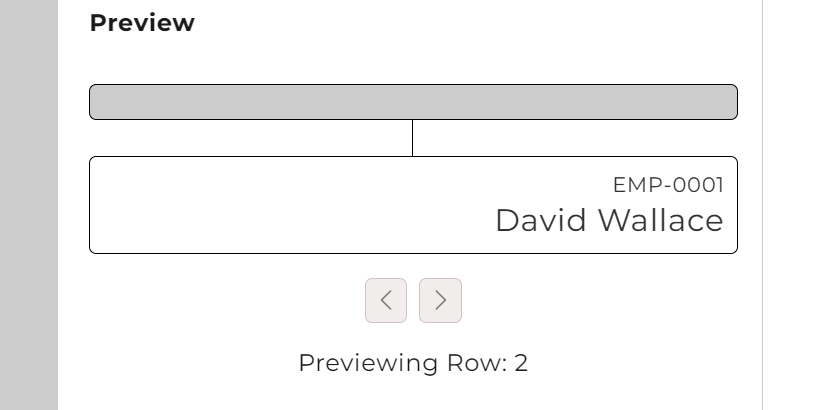
And finally, we can see a preview of how each node in the Org Chart will look in the Preview Section
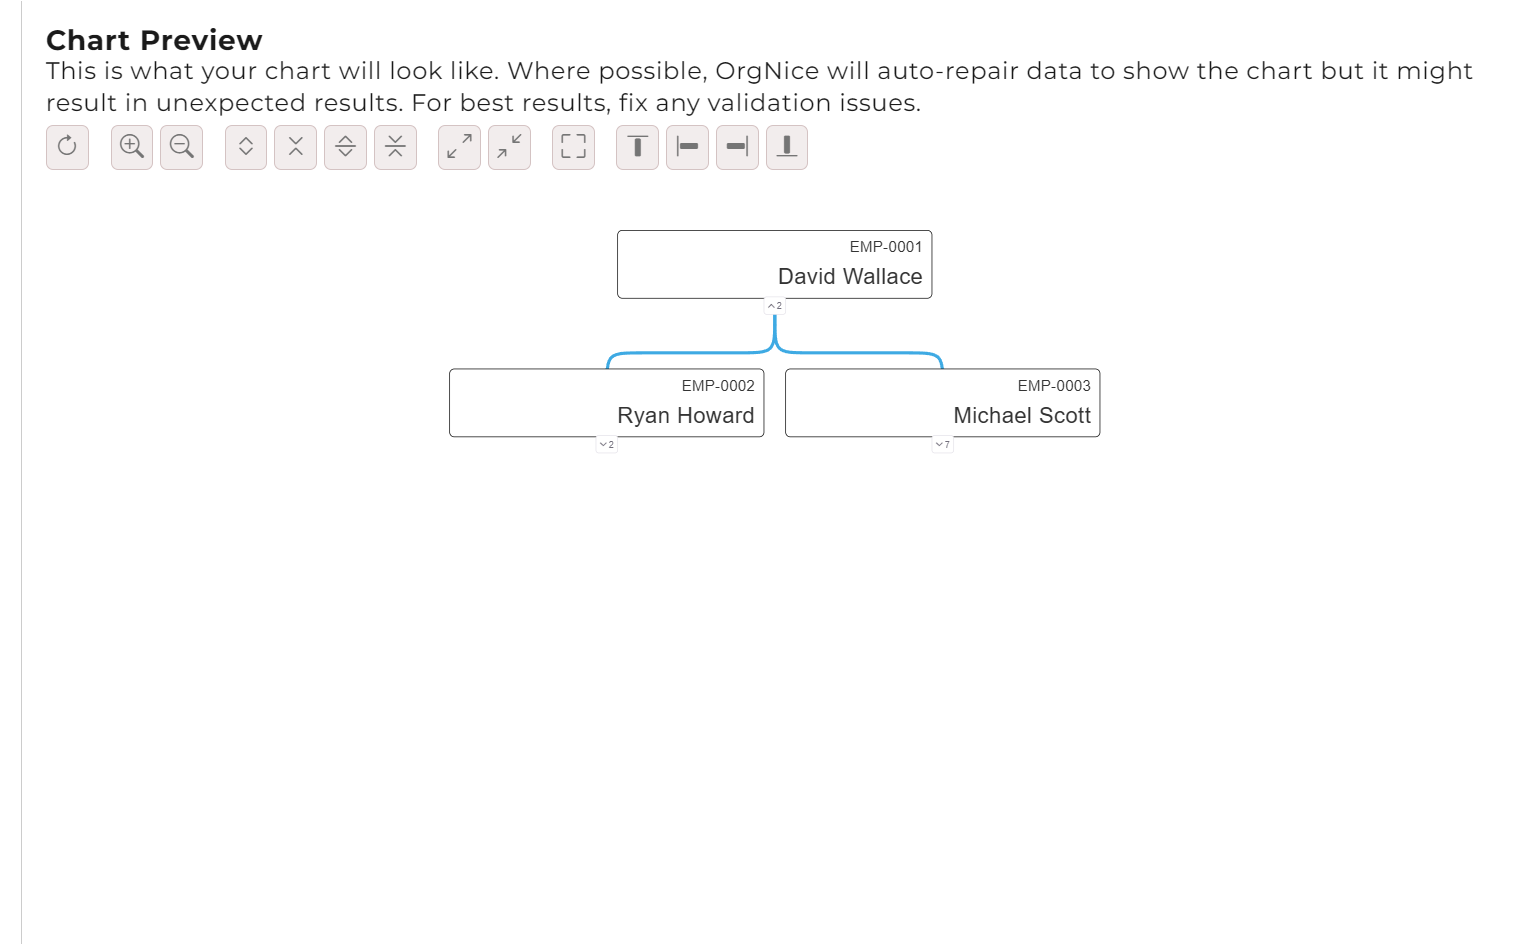
as well as how the chart will look in the Chart Preview section
Mapping Section
Here we design what data we show for each employee/resource/object in the Org Chart. We also identify which field has the id of the manager of the employee or the owner of the resource/object. At a minimum we need 3 fields -
- A column from the Google Sheets file for the manager (Map against
Manager's Id from Column) - A column from the Google Sheets file that has the unique id for each employee/resource/object (Map against
Employee Id from Column) - A column from the Google Sheets file that has the name of the employee/resource/object (Map against
Employee Name from Column)
You can also optionally map:
- Employee Images - A column with URLs to employee profile images. Learn more about configuring employee images.
Additional columns can also be added by selecting Add Field
Learn more about the format of Google Sheets
Validation Issues
OrgNice tries it best to show a chart if all fields have been mapped - repairing the view where possible. If any field is unmapped, then the chart will not be shown.
As you map columns, OrgNice will validate the structue of your data and identify any issues which may be because of data reference issues (invalid manager id, or non-unique employee ids for example) or other issues. All issues are listed in the Validation section. Most issues are warnings which may result in OrgNice repairing the data to produce an unexpected chart. If you see unexpected results, look for issues and try to fix them in your sheet. In most cases, issues are accompanied by hints on common causes and potential fixes.
Preview Section
You can navigate the rows of your data to see if the data looks right.
Configuring additional fields
OrgNice can show additional fields against each OrgChart node. You can use this to show titles, departments, emails, links or anything else that makes sense in your chart. To add addtional fields, use ‘Add Additional Fields’ and map the column you want to use. You can leave a mapping un-mapped if you want some whitespace.
An example (if you are following along using The Office template) - Additional Fields mapped -
- Title from column Title (D)
- Not Mapped so we can get blank space
- Department from column (E)
- Additional Activities from column (F)
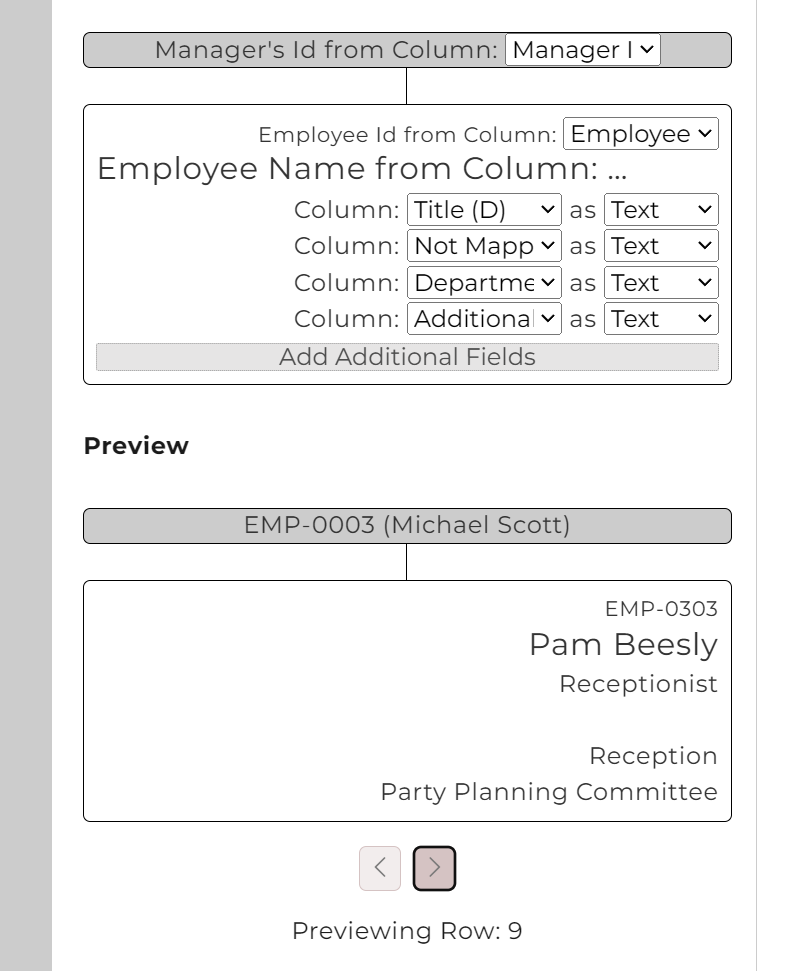
Learn more about configuring additional fields.
Save
When you are satisfied, you can click Save to save the setup.
Congratulations!! You have setup your Org Chart!!
